
How to add a product category in WordPress Menu?
As a newcomer to WordPress, you might be eager to create a menu featuring your product categories. In this topic, we will show you two easy solutions for to add a product category to WordPress menu. Let’s guide you through the process:
1/ Enable product categories section in the Add menu Items to add a product category in the WordPress menu
To start, make sure the Product Categories section is enabled within the Add Menu Items interface. Follow these steps:
– Step 1: Access Your WordPress Dashboard: Log in to your WordPress admin panel.
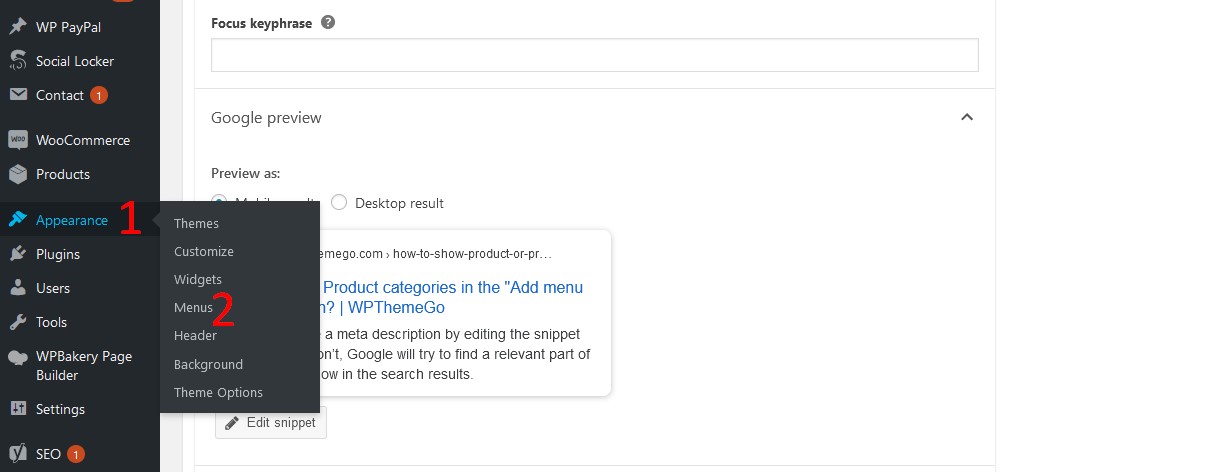
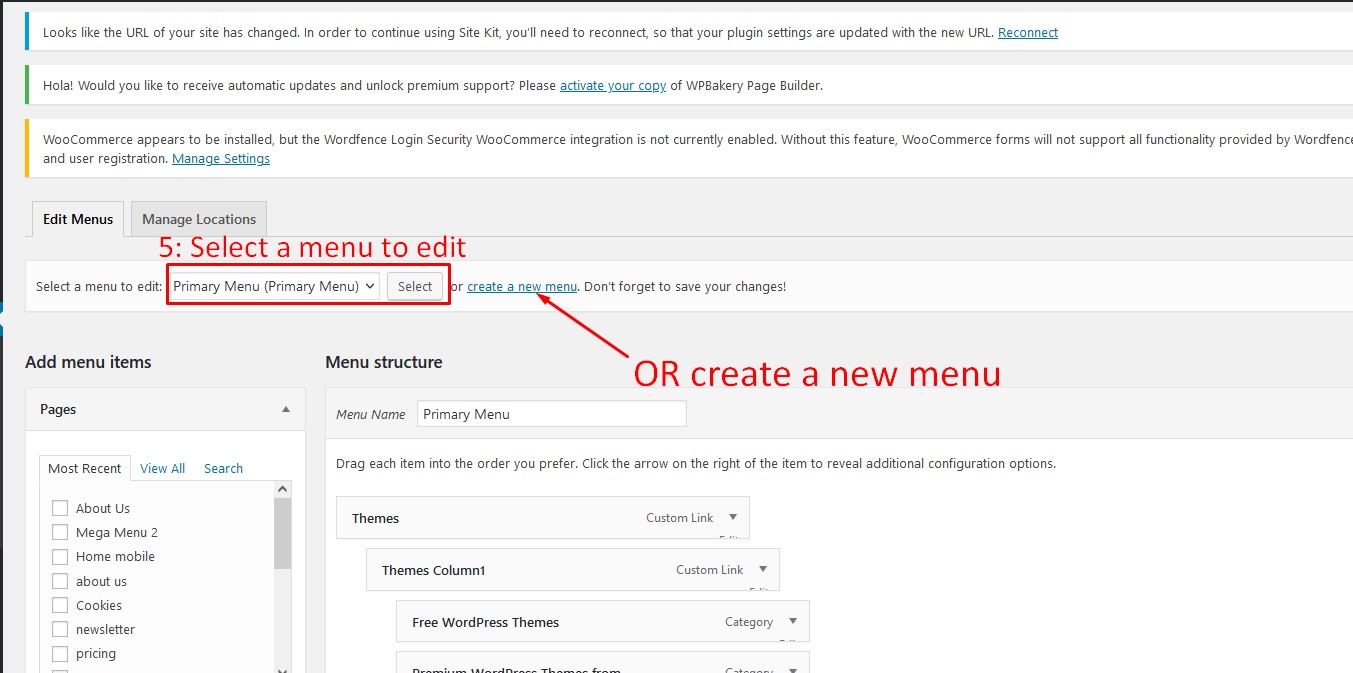
– Step 2: Navigate to the Menu Editor: Go to “Appearance” => “Menus” in the sidebar menu.
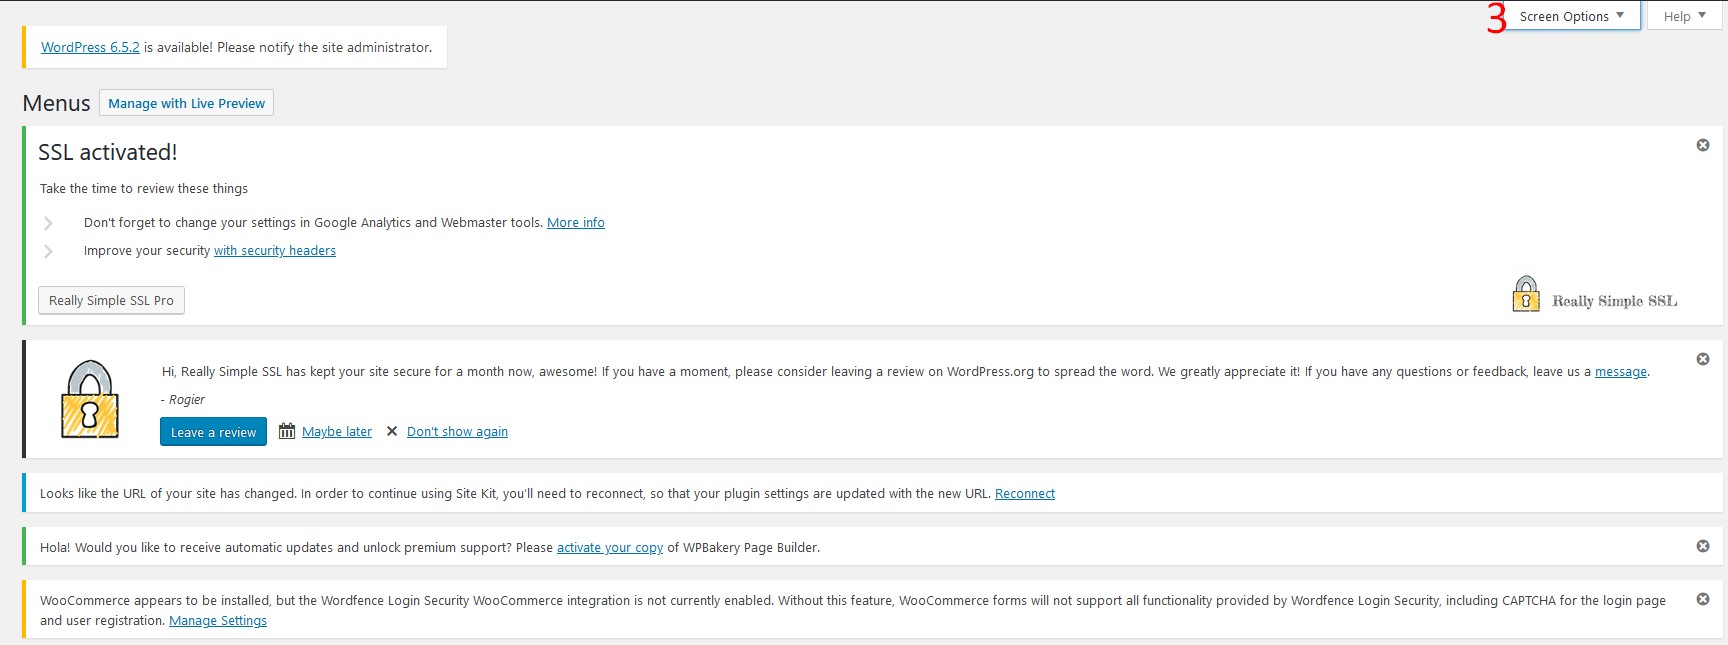
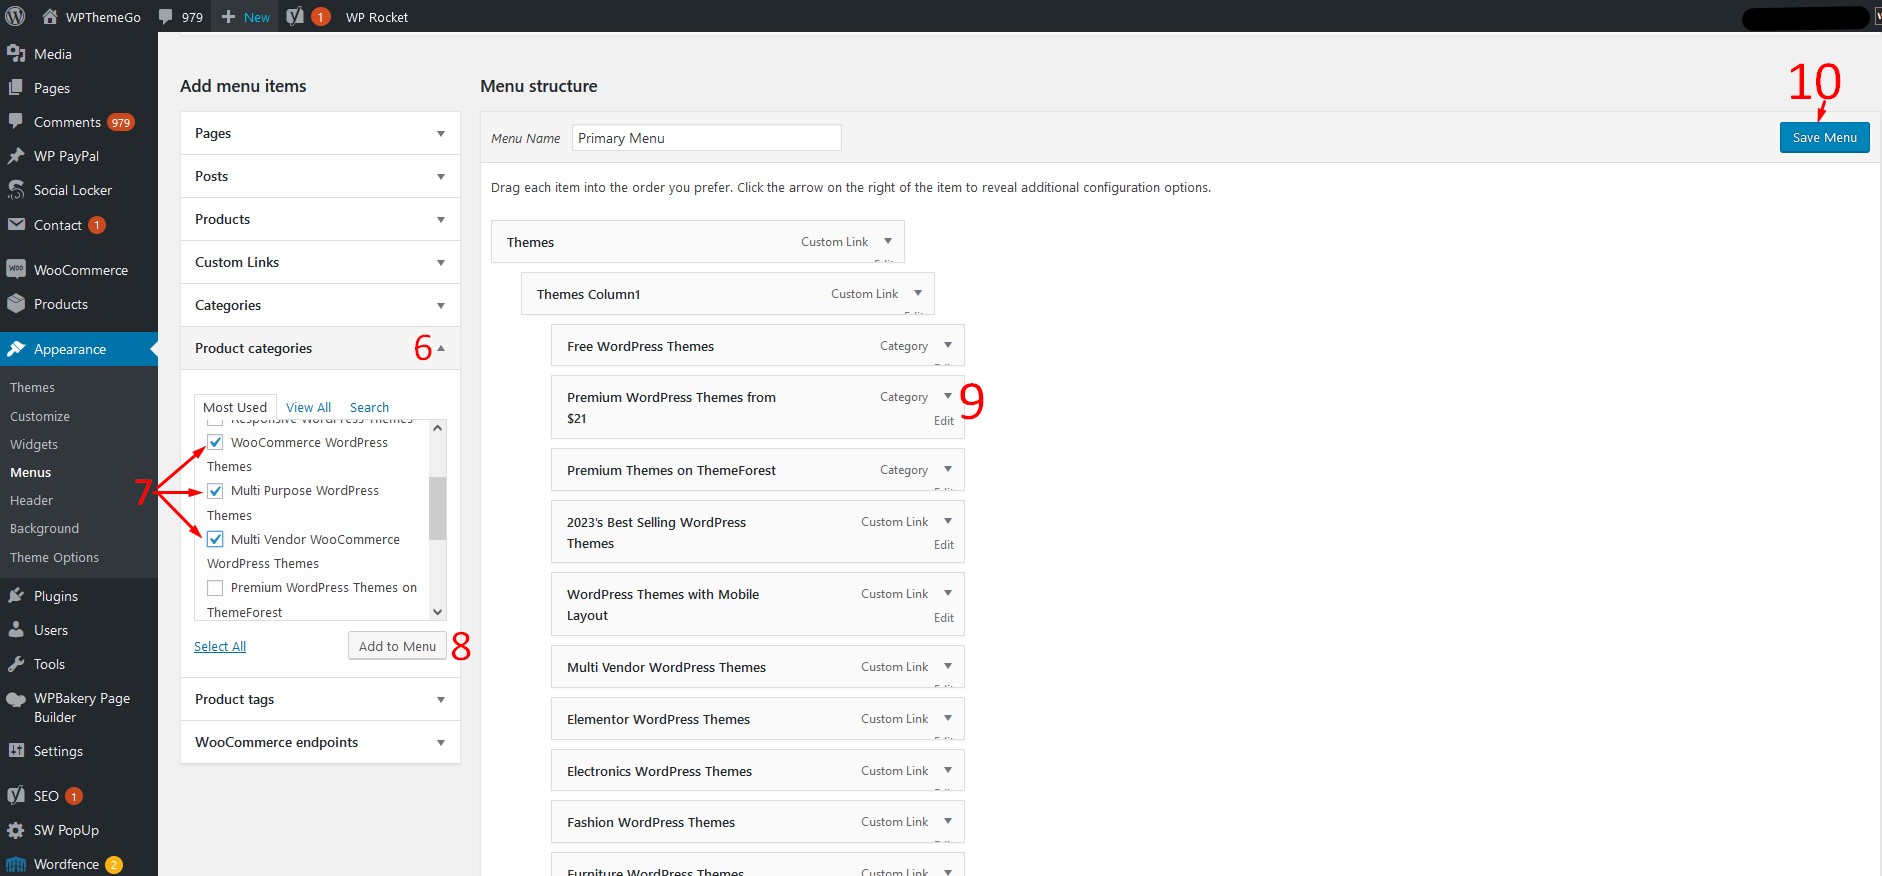
– Step 3: Enable Product Categories: Look for the “Screen Options” tab at the top-right corner of the Menu Editor screen. Click on it to expand.
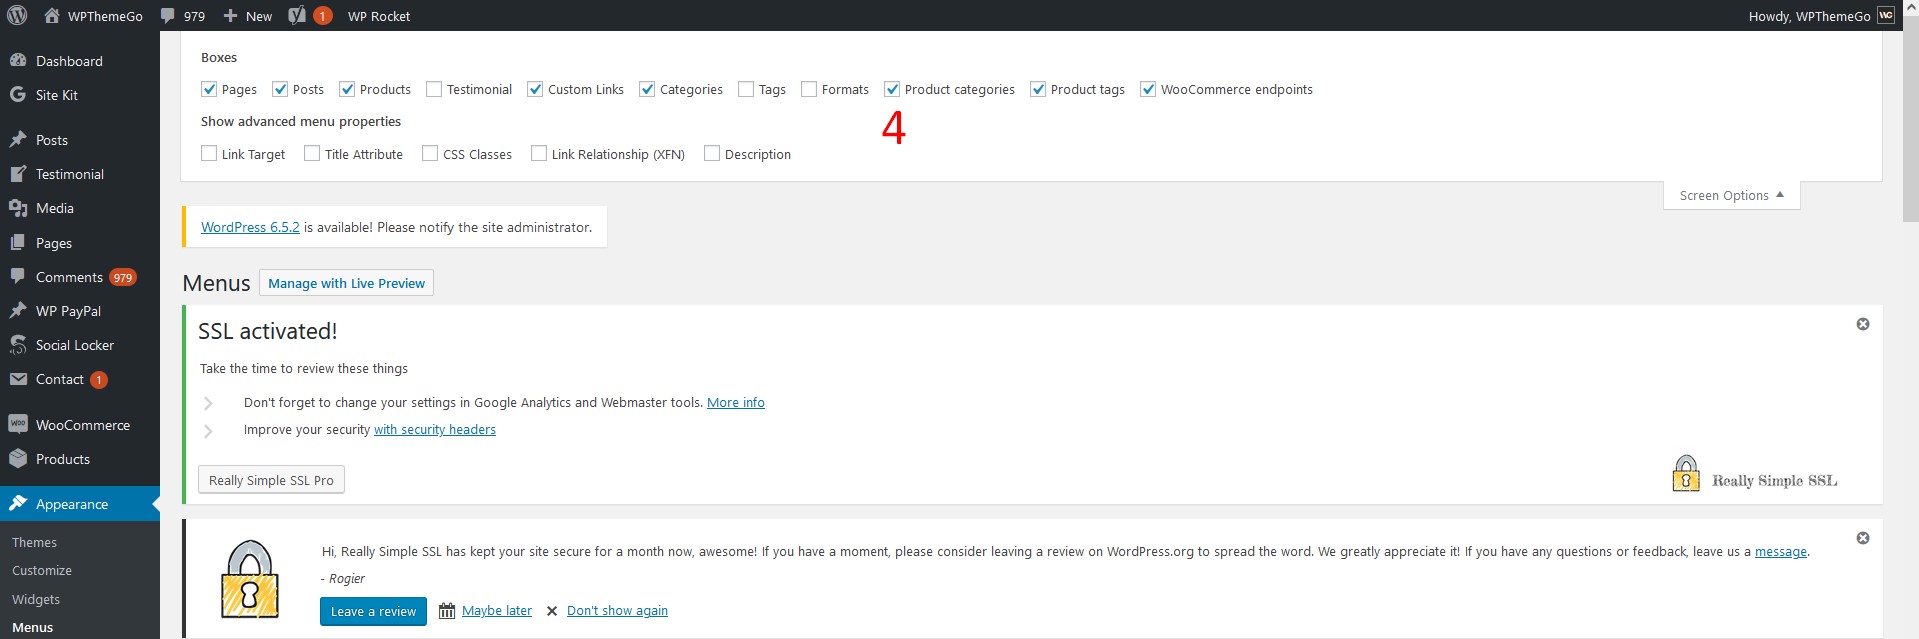
 – Step 4: Check the Product Categories Option: Within the Screen Options, you’ll see a list of available menu item types. Check the box next to “Product Categories” to enable it.
 – Step 5: Open a menu or add new a menu
 – Step 6: Add One or More Product Categories:
a. On the left-hand side of the Menu Editor, you’ll now see a “Product Categories” section.
b. Click on “Product Categories” to expand the section. After that, You’ll see a list of your WooCommerce product categories. Please check the product categories you want to add to your menu.
d. Click the “Add to Menu” button.
e. The selected product categories will now appear as menu items in the right-hand “Menu Structure” section.
f. You can rearrange the order of the menu items by dragging and dropping them and click the “Save Menu” button to apply your changes.
 2/ Using Custom Link to add a product category to the WordPress menu
You can add product categories to your menu using custom URLs. Follow these steps:
– Step 1: In the Menu Editor, click on the “Custom Links” tab on the left-hand side.- Step 2: Enter Custom URLs: For each product category you want to add, enter the custom URL in the URL field. The format for the URL should be your website URL followed by “/product-category/category-name/”.
– Step 3: For example: “https://yourwebsite.com/product-category/category-name/”
– Step 4: Provide Link Text: In the Link Text field, enter the name you want to display for the product category in the menu.
– Step 5: Add to Menu: Click the “Add to Menu” button to add the custom link to your menu.
– Step 6: Arrange Menu Items: Drag and drop the newly added custom links within your menu structure to adjust their order as needed.
– Step 7: Save Your Menu: Once you’re satisfied with the menu structure, click the “Save Menu” button to apply your changes.
 By following either of the two methods outlined above, you can effectively integrate Product Categories into the menu of your WordPress website. Additionally, you’ll discover a wealth of other helpful tips to customize a WordPress website on WPThemeGo.com.
Should you have any questions or encounter any challenges, don’t hesitate to reach out for assistance. We’re here to provide support!
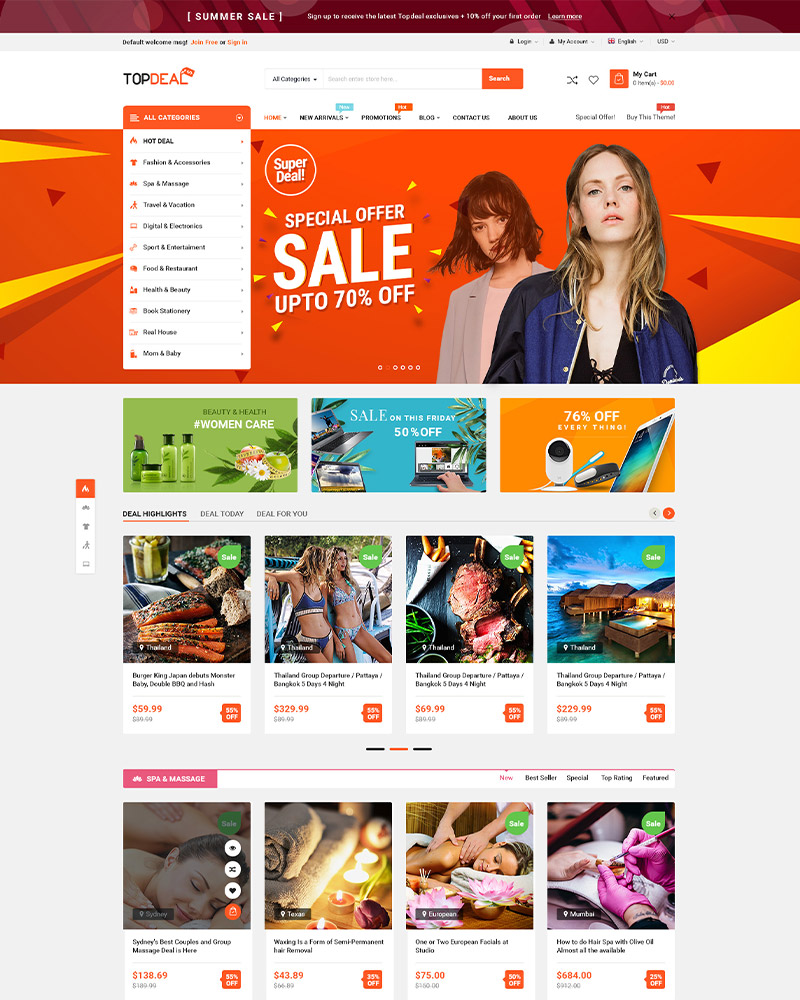
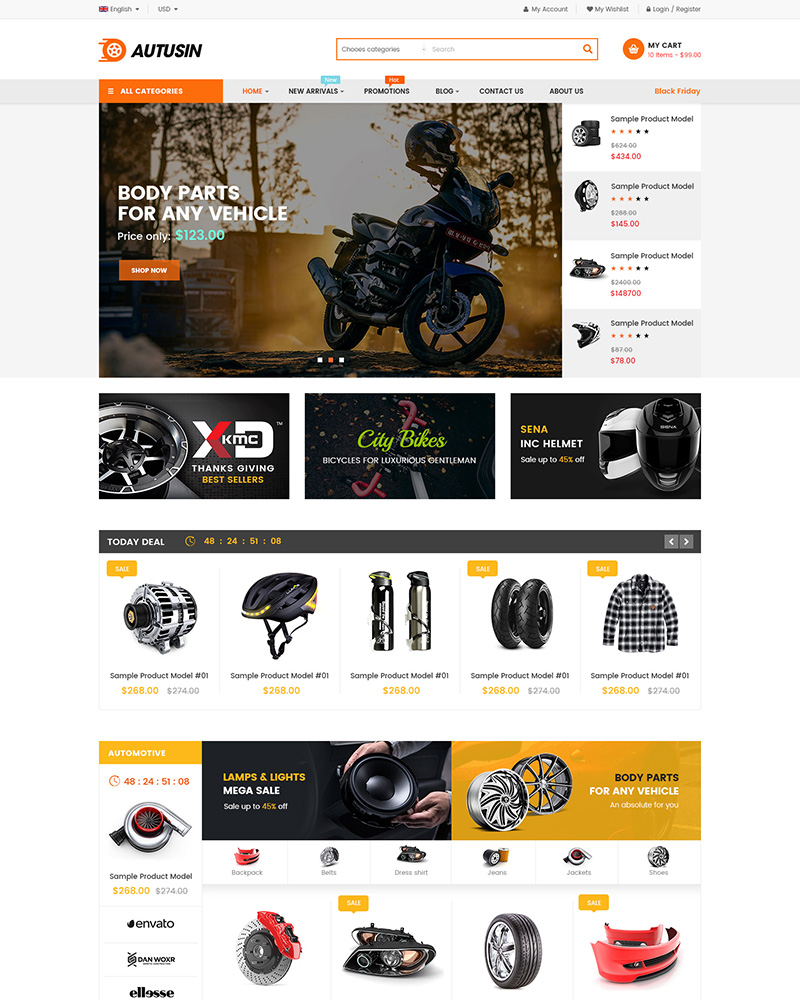
See Our Best-selling WordPress Themes:
Below are our best-selling WordPress themes compatible with the latest version of WordPress.
BROWSE ALL WORDPRESS THEMES
See our theme collections:
- See 10+ Best Elementor WooCommerce WordPress Themes 2024
- See 20+ Best multi-vendor marketplace WordPress themes 2024
- See 12+ Best Auto Parts Shop WordPress Themes 2024
- See15+ Best Clothing & Fashion Shop WordPress Themes 2024
- See 20+ Best Electronics Store WooCommerce Themes 2024
- See15+ Best Selling Furniture Store WordPress Themes 2024
- See15+ Best Selling Organic Store WordPress Themes 2024
Our Support Help Desks:
Documentation: Find documentation for themes and frequently asked question on our Documentation channel wpthemego.com/document
Ticket System: Submit a ticket about your problem on WPThemeGo Support at support.wpthemego.com to get help from the support team. All your information will be kept confidential.
Email Support: Contact us via email for presale questions about our themes and other questions viacontact@wpthemego.com.


Leave Your Comment