Let’s learn about Theme Options, Page Metabox and Category Metabox in our WordPress Themes.
First of all, thank you very much for choosing our product as well as having acompanied with us.
Our SW Themes are builts based on our framework and it has some strong points. It not only enable you to create your own logo, favicon image, configure the font style for your site but only let you to beautify your site with color schemes, layout configuration, maintainance mode, megamenu and many other great features.
In this documentation, we will take screenshots from Revo theme as an example. We hope that it can help you to master our SW Themes esspecially the Theme Options and Page Metabox and in the end, you can develop a website as your expectation.
If you have any questions that are beyond the scope of document, please feel free to contact us via our Support Page.
Thank you very much!
To use this one, your site or server should meet all the minimum requirements of WordPress. Please note that the latest version is always prefered.
- PHP version 5.6 or later
- MySQL version 5 or later
- WordPress 4.7.x or later
Currently, the framework is intergrated in SW Themes. After you install and activate the SW themes in your site, the Theme Options and Page Metabox options will be available there.
After theme installation and activation, you can go to Appearance >> Theme Options in your WordPress Admin to see the Theme Options in your site.
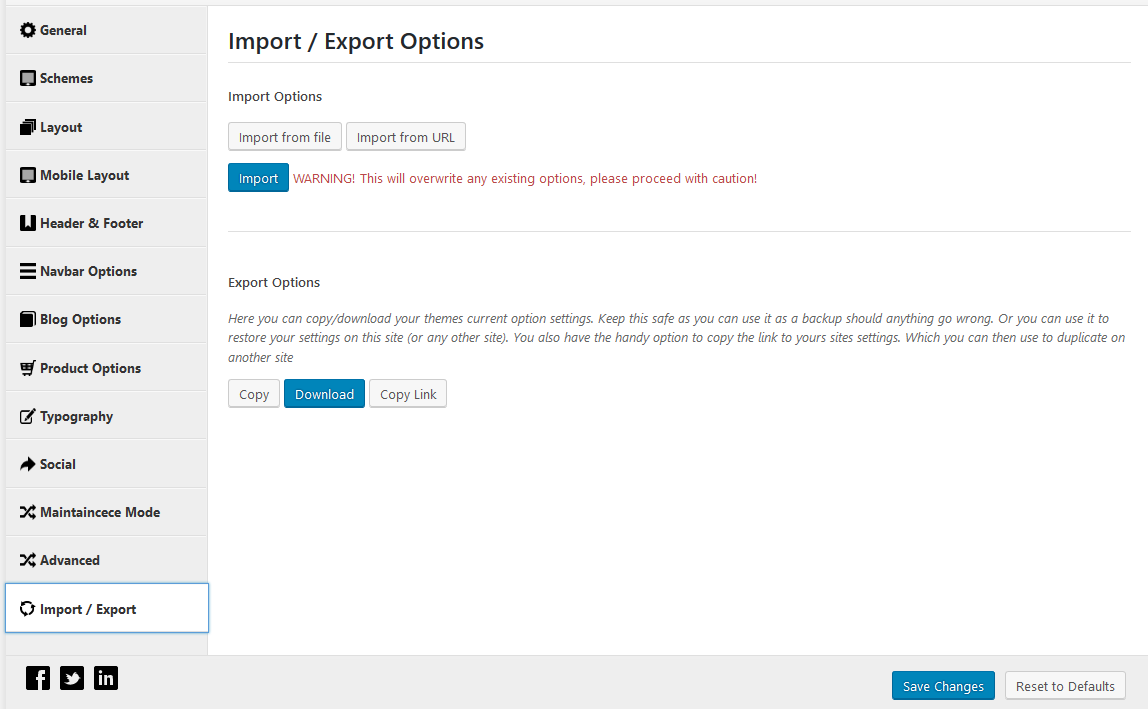
The Theme Options often includes options: General, Schemes, Layout, Mobile Layout, Header and Footer, Navbar Options, Blog Options, Product Options, Typography, Social, Maintainance Mode, Advanced and Import/Export.
It should be noted that, there may be the different among SW Themes. However, they will be updated in later version of the themes.
SOME NOTES ABOUT THE THEME OPTIONS:
- Customize & Cpanel option: This is only used for the Demo development.
- Reset to Defaults option: Please DO NOT use it if you don’t want to loose your configuration. When the theme is reset to default, all the value here will be back to the default without saving any your configuration.
- Before configuring, you can also backup your theme options by clicking on the Import/Export tab. This is a great way to move your custom options from site to site.
Please note that the options in the Theme Options will be applied if they are not changed in the Page Metabox.
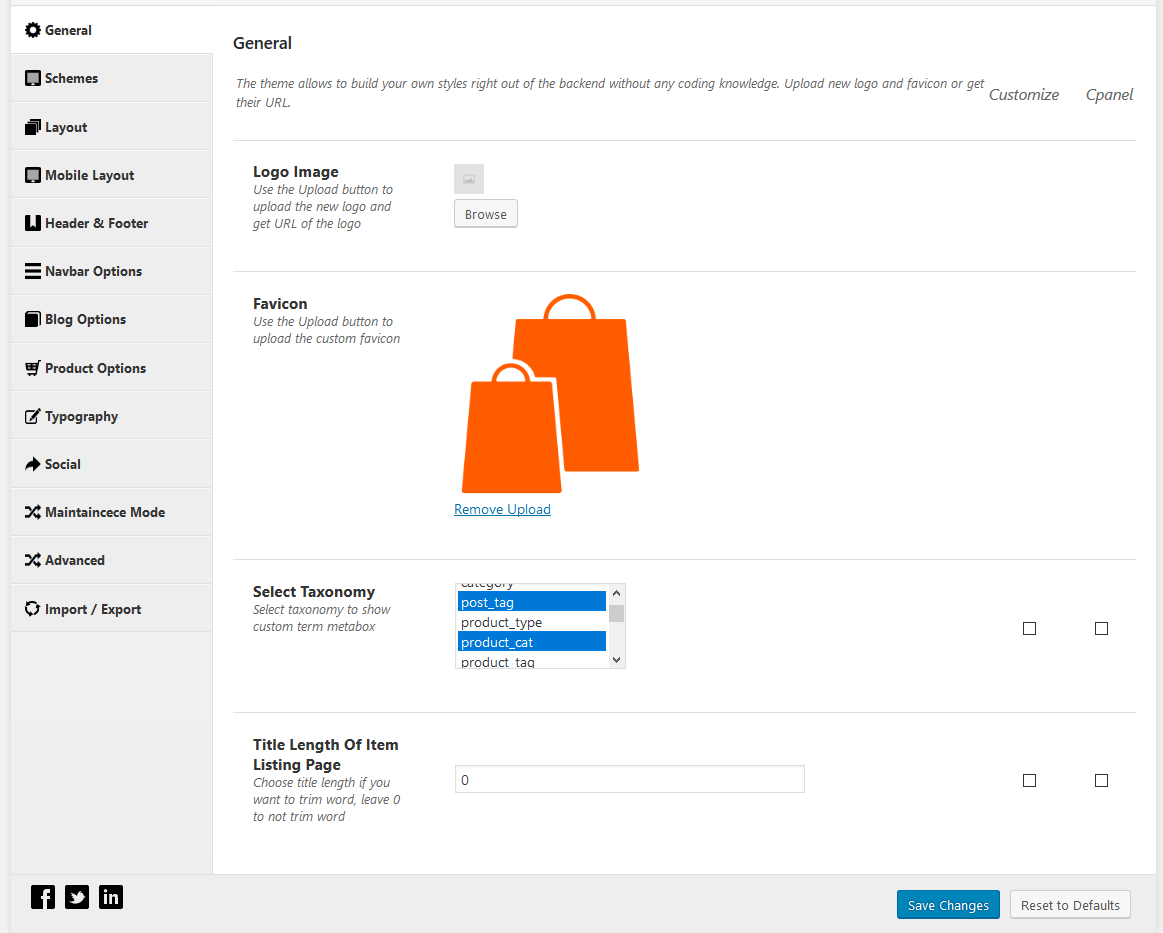
4.1 General
In this tab, you will see options for Logo Image, Favicon, Option for Taxonomy and Title Length of Item Listing Page. .
- Logo Image: You can easily upload your desired logo image and get URL of the logo.
- Favicon: You also can upload custom Favicon for your site.
- Select Taxonomy: You can freely select taxonomy to show custom term metabox. Depend on each theme, it is available or not.
In SW Revo theme we select post_tag and product_cat. - Title Length Of Item Listing Page: This one let you to choose the Title Length if you want to trim word for the Item Listing Page.
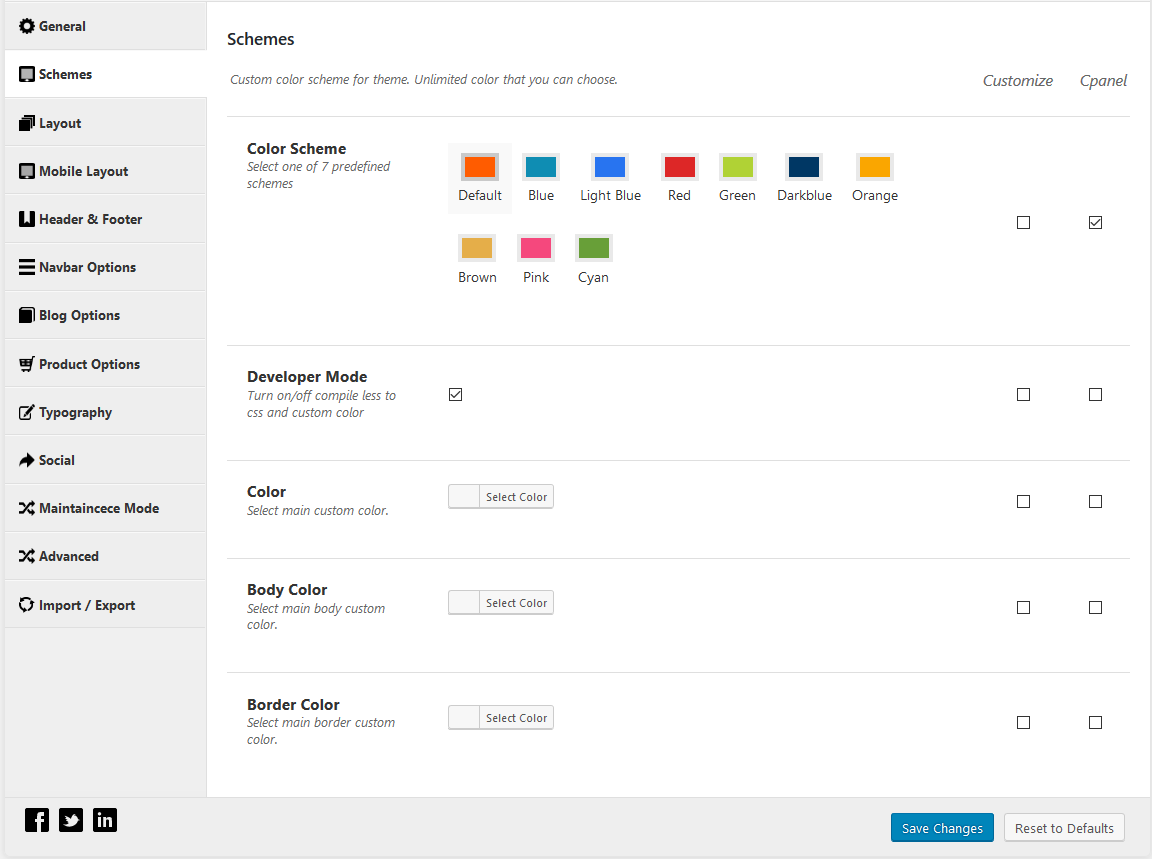
4.2 Schemes
In this tab, you will see options for Color Scheme, Develop Mode and Color option for Body, Border and for the Custom one .
- Color Scheme: Due to different version of the themes, there are various color schemes available for you to choose. It let you to change the global color in your site.
- Developer Mode: This one let you enable the Developer Mode. You can check this option to turn on Complile Less to CSS and Custom Color for your site. Please note that after enabling this option, the option Color, Body Color and Border Color work.
- Color: This option lets you choose color for the main custom color.
- Body Color: This option lets you choose color for the main body custom color.
- Border Color: This option lets you choose color for the main border custom color.
About the Developer Mode, when you enable this function, the WordPress Less Plugin is required to install. After using this feature, this mode should be turned off then it wont prevent the speed of your site.
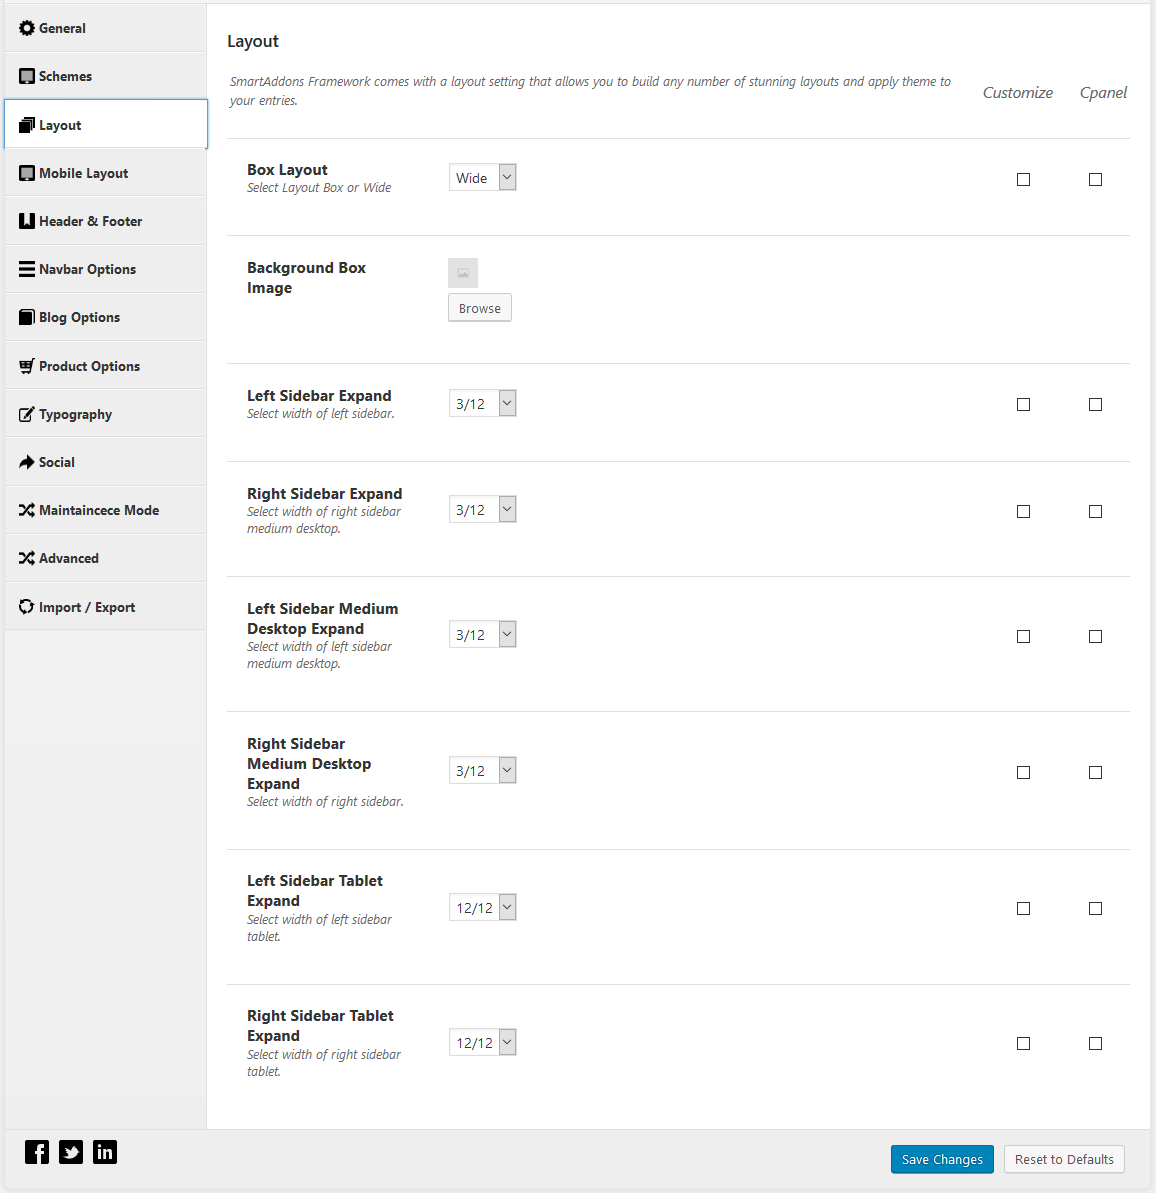
4.3 Layout
This tab gives you various options for the theme layouts including Box Layout, Background Box Image, Left Sidebar Expand, Right Sidebar Expand, LeftSiderbar Medium Desktop Expand, Right Sidebar Medium Desktop Expand, LeftSidebar Tablet Expand and Right Sidebar Tablet Expand.
Please note that the option Sidebar Expand is ONLY applied for the Sidebar in Sidebar Blog page and Sidebar Shop page.
- Box Layout: This one let you to configure your site as layout Box or Wide.
- Background Box Image: When the Box Layout option is set as Box, you can set Backgroundground Box Image here for your site.
- Left Sidebar Expand: This option lets you set width of Left Sidebar in in Blog and Shop pages with sidebar.
- Right Sidebar Expand: This option lets you set width of Right Sidebar in in Blog and Shop pages with sidebar.
- Left Siderbar Medium Desktop Expand: This option lets you set width of Left Sidebar in in Blog and Shop pages with sidebar on medium desktop device.
- Right Sidebar Medium Desktop Expand: This option lets you set width of Right Sidebar in in Blog and Shop pages with sidebar on medium desktop device.
- Left Siderbar Tablet Expand: This option lets you set width of Left Sidebar in in Blog and Shop pages with sidebar on medium tablet device.
- Right Sidebar Tablet Expand: This option lets you set width of Right Sidebar in in Blog and Shop pages with sidebar on tablet device.
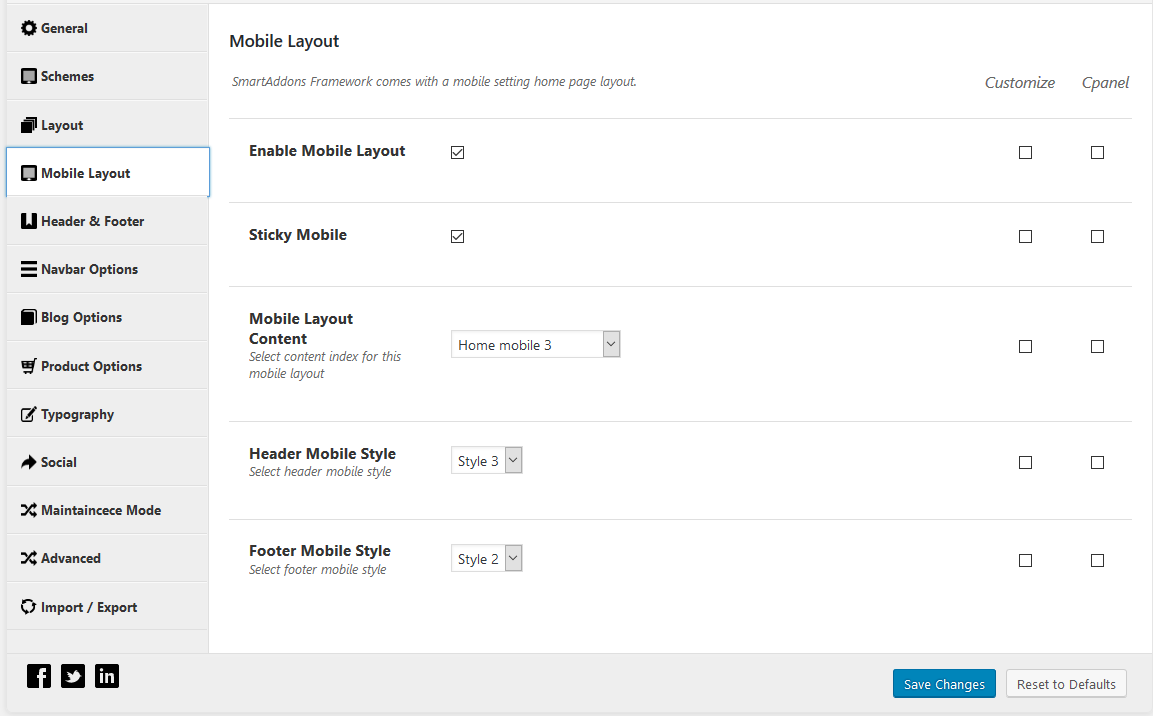
4.4 Mobile layout
The tab Mobile Layout is not an always available one in the Theme Options. It ussually be there after the Mobile Version of the theme is updated due to each version of the SW themes.
In SW Revo, it allows you to enable mobile layout for your site. When you choose to display the mobile layout, you also can select its Content, Header and Footer style.
Note:
To use the mobile layout, it should be chosen the option Enable Mobile Layout. After that, you can continue to configure option Sticky Mobile, Mobile Layout Content and select the Header Mobile Style and Footer Mobile Style as you want.
If you disable the option Enable Mobile Layout, your site will be automatically applied the Responsive Mode on mobile device but not the configuration here.
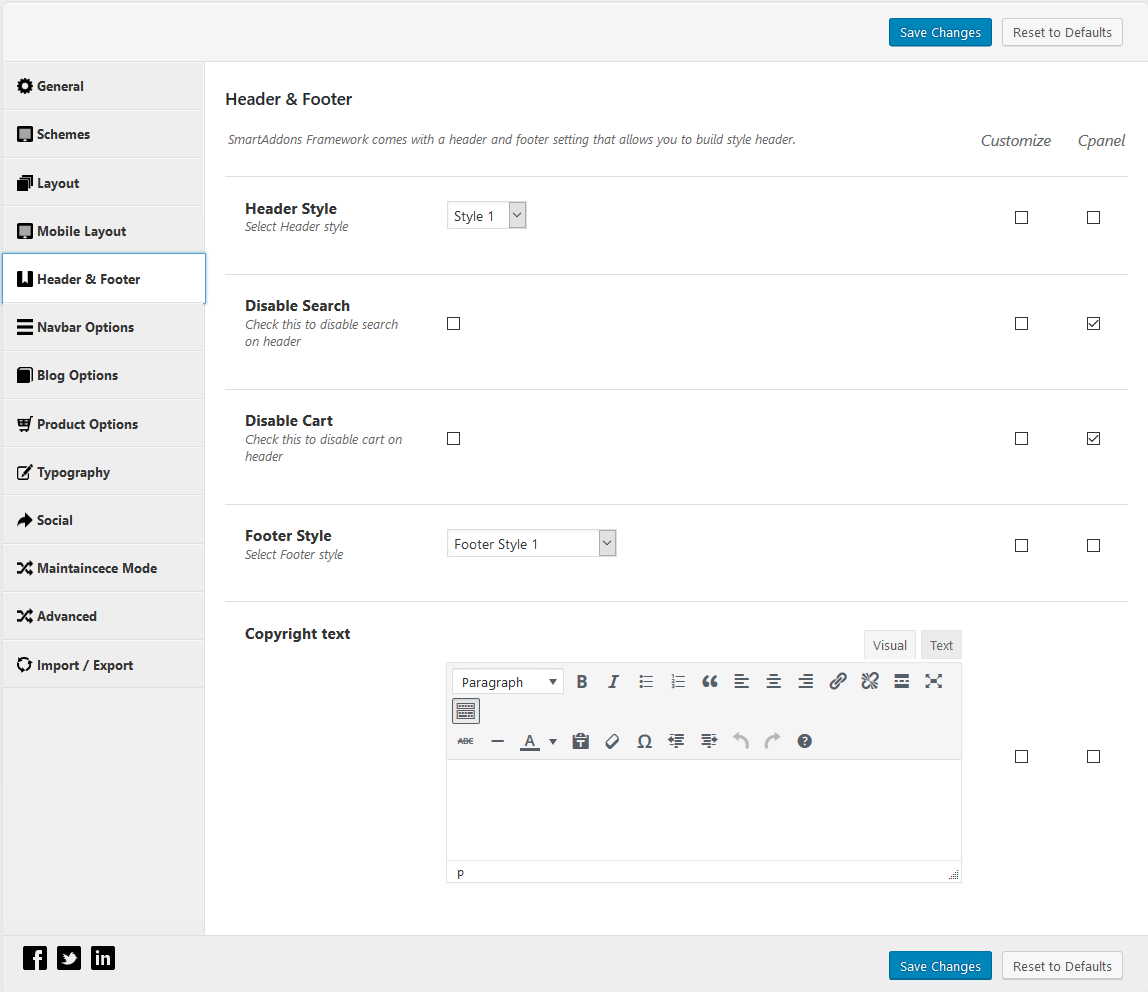
4.5 Header & Footer
This tab provides you with many options including Header Style, Disable Search, Disable Cart, Footer Style and Copyright Text.
- Header Style: This one let you to choose header style for your site.
- Disable Search: If you do not want the Search appear in the header of your site, you can check this one.
- Disable Cart: If you do not want the Cart appear in the header of your site, you can check this one.
- Footer Style: This one let you to choose footer style for your site.
- Copyright Text: This option lets you to add the Copyright Text into the Bottom of your site.
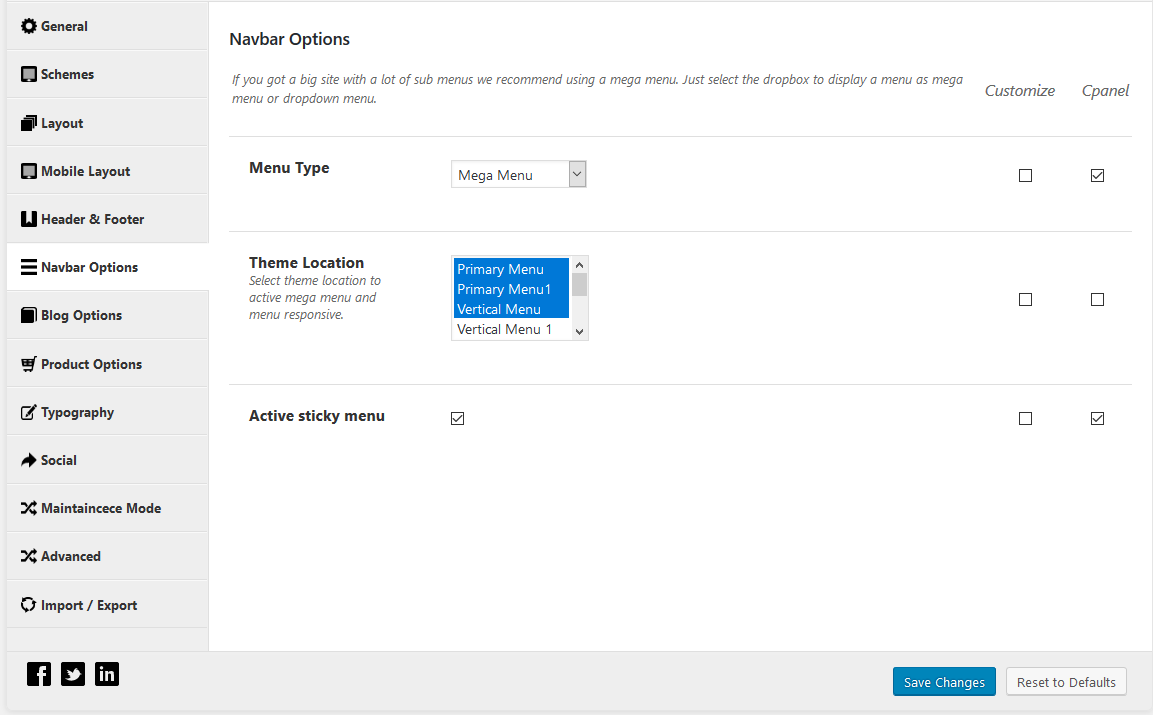
This is the option for navbar. It includes Menu Type, Theme Location and Active Sticky Menu.
- Menu Type: This enables you to choose the menu type for your site as Mega Menu or Dropdown Menu.
- Theme Location: With this option, you can choose theme location to active megamenu and menu responsive for your site.
- Active Sticky Menu: If you want to use sticky menu, you can choose this option to activate it.
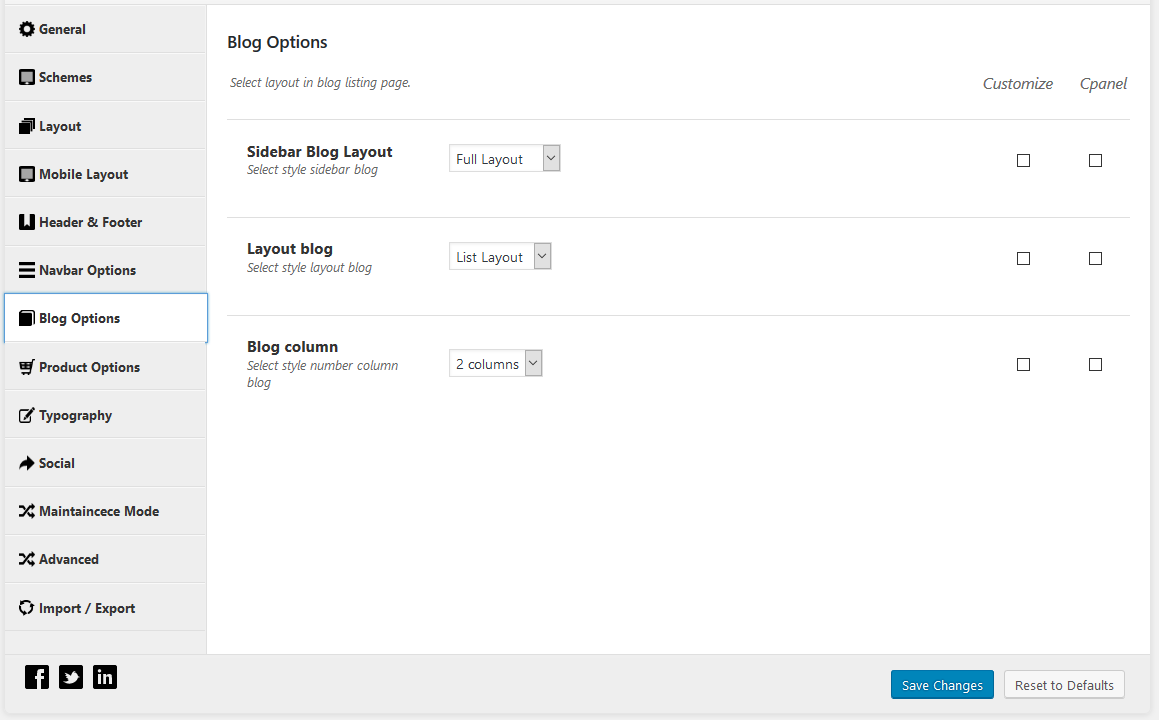
4.7 Blog Options
Blog Options includes Sidebar Blog Layout, Layout Blog and Blog Column.
- Sidebar Blog Layout: This enables you to configure the layout of blog in your site such as fullwidth layout or left sidebar layout or right sidebar layout.
- Layout Blog: This enables you to configure the layout of blog content as list layout or grid layout.
- Blog Column: This enables you to configure the number of columns for blog content.
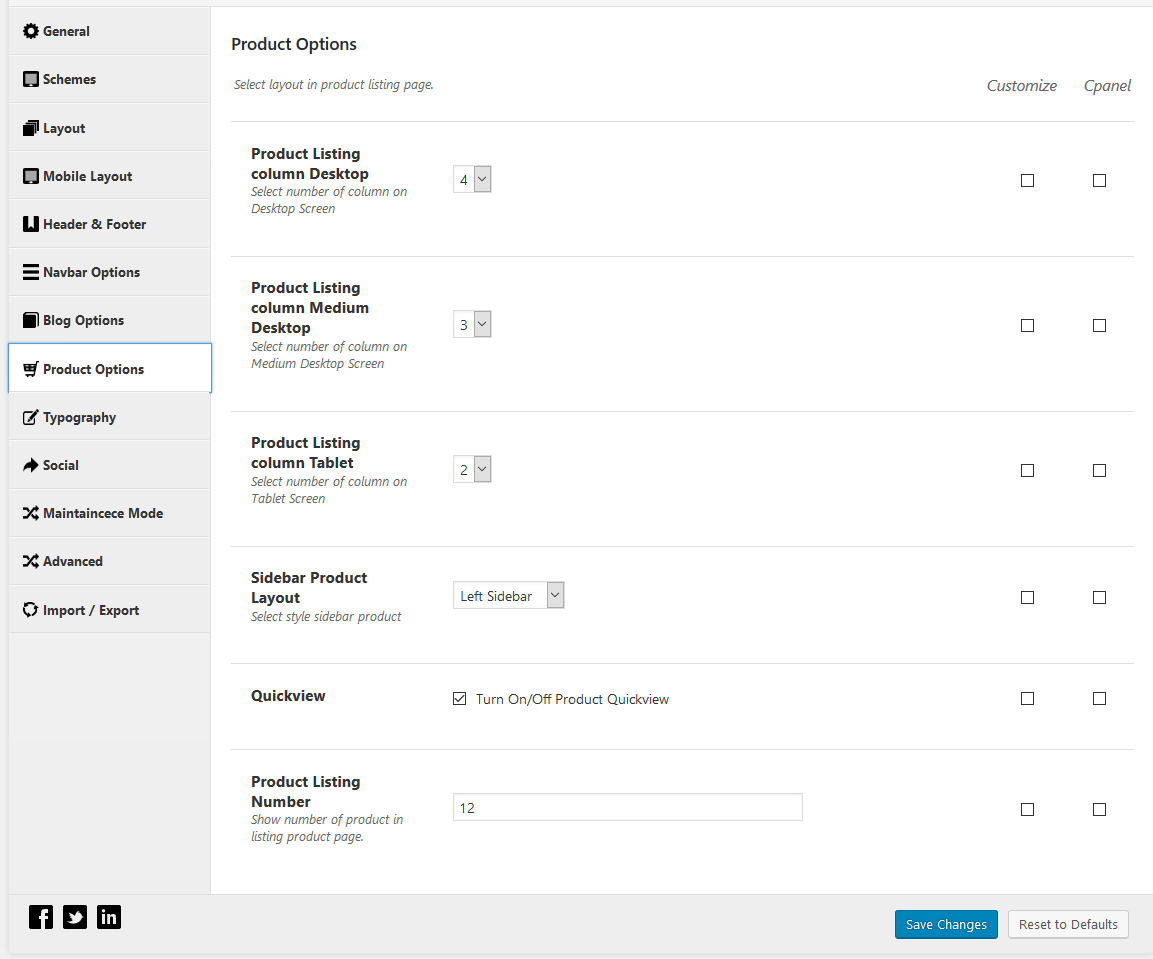
4.8 Product Options
There are various options in this tab to help you configure the layout for product listing page. They are Sidebar Blog Layout, Layout Blog and Blog Column.
- Product Listing column Desktop: This enables you to configure the number of column on desktop screen.
- Product Listing column Medium Desktop: This enables you to configure the number of column on medium desktop screen.
- Product Listing column Tablet: This enables you to configure the number of column on tablet screen.
- Sidebar Product Layout: This enables you to choose the siderbar product for your product page as left sidebar or right sidebar.
- Quickview: If you want to turn on the product quickview, let’s check at this option.
- Product Listing Number: This enables you to configure the number of product for listing product page.
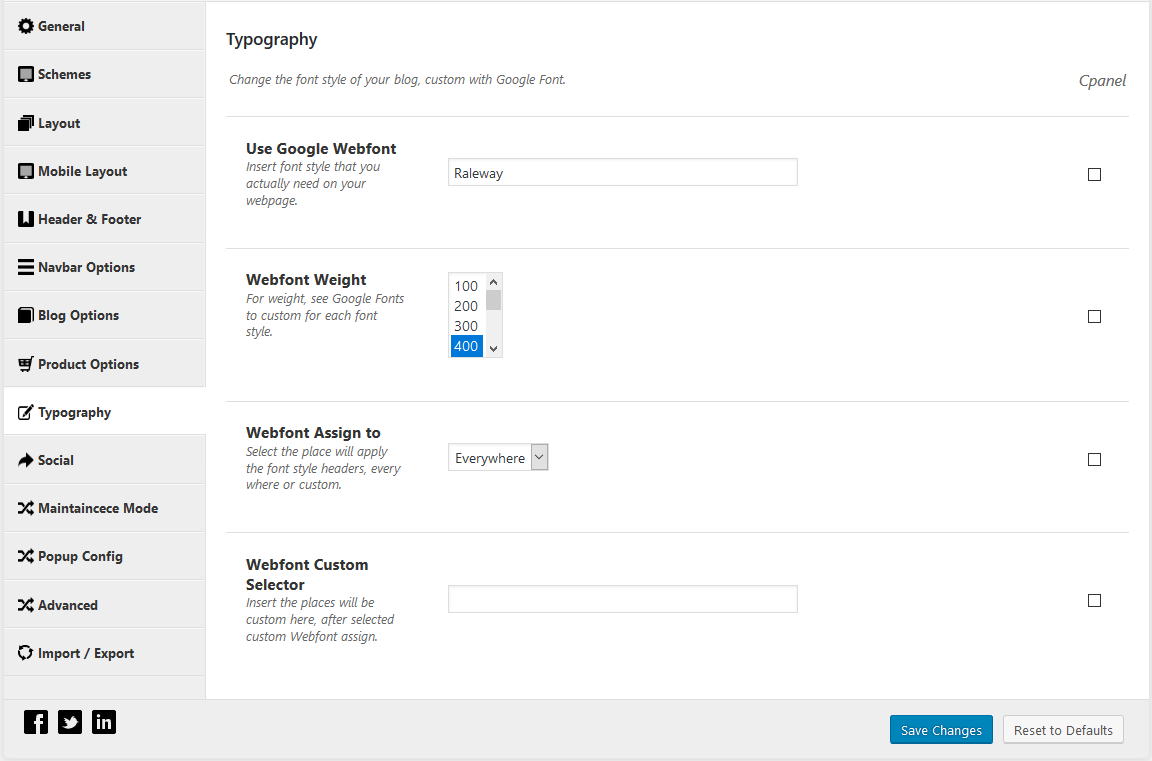
4.9 Typography
The framework provides various options to custom the font style for your blog with Google Font. Options includes Use Google Webfont, Webfont Weight, and Webfont Assign.
- Use Google Webfont: This enables you to choose the Google Webfont for your site. You just need to insert the font name here.
- Webfont Weight: For this one, you need to see Google Fonts to custom for each font style.
- Webfont Assign to: This enables you to choose which areas will be applied the font style including Header, Everywhere or Custom.
- Webfont Custom Selector: This option is activated when you choose Webfont Assign to option as Custom. Please insert the area you want to apply the font here.
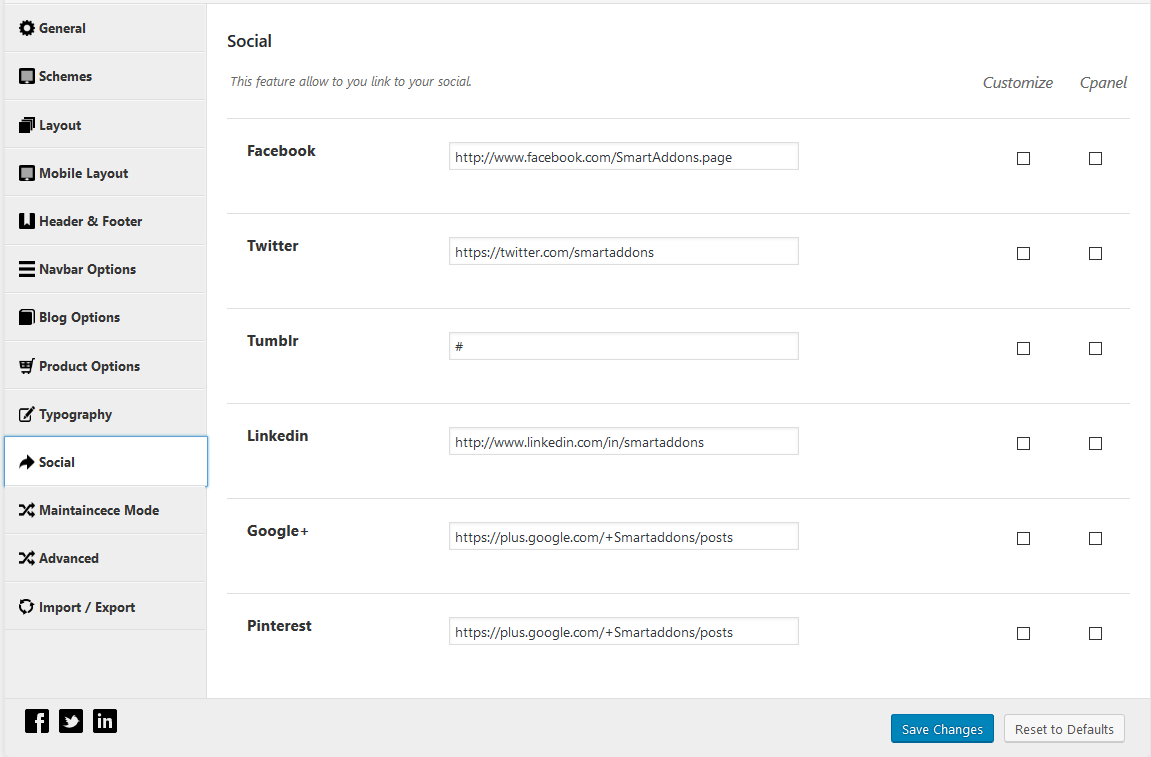
With Social tab, it allows you to link your social easily. You can add link of your Facebook, Twitter, Tumblr, Linkedn, Google+ and Pinterest into your site.
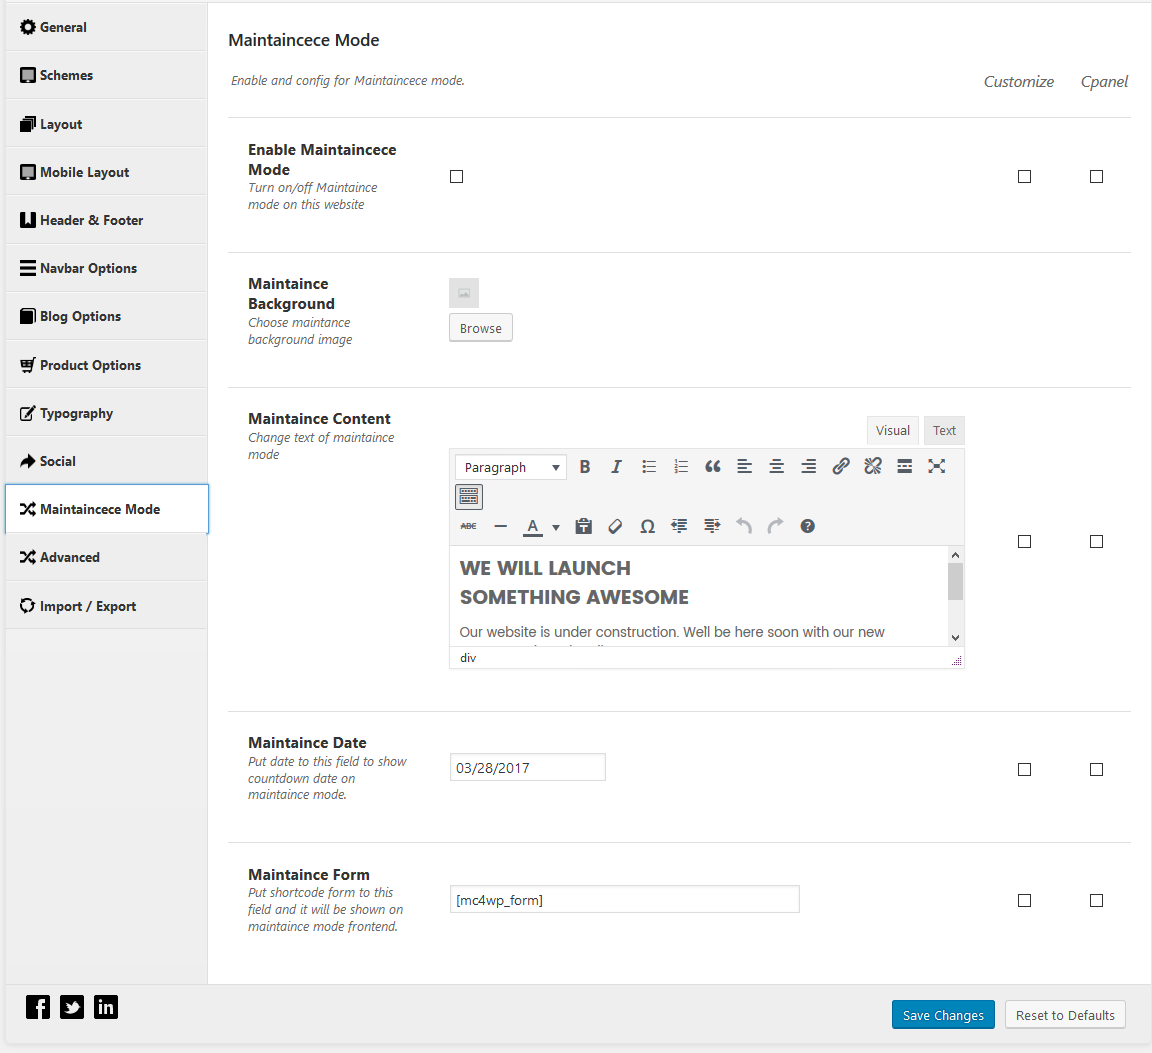
4.11 Maintaincece Mode
If your site has not been ready to be launch, the Maintaincece Mode will be truly useful for you. In this tab, you can enable and configure Maintaincece Mode with various options including Background, Content, Date and Form.
- Enable Maintaincece Mode: This enables you to turn on the Maintainance Mode for your site.
- Maintaince Background: This option allows you to upload the background image for your site under this mode.
- Maintaince Content: This enables you to add the content for this mode in your site.
- Maintaince Date: This option is let you configure the countdown date on maintainance mode.
- Maintaince Form: This option allows you to insert shortcode form to show on maintaince mode frontend.
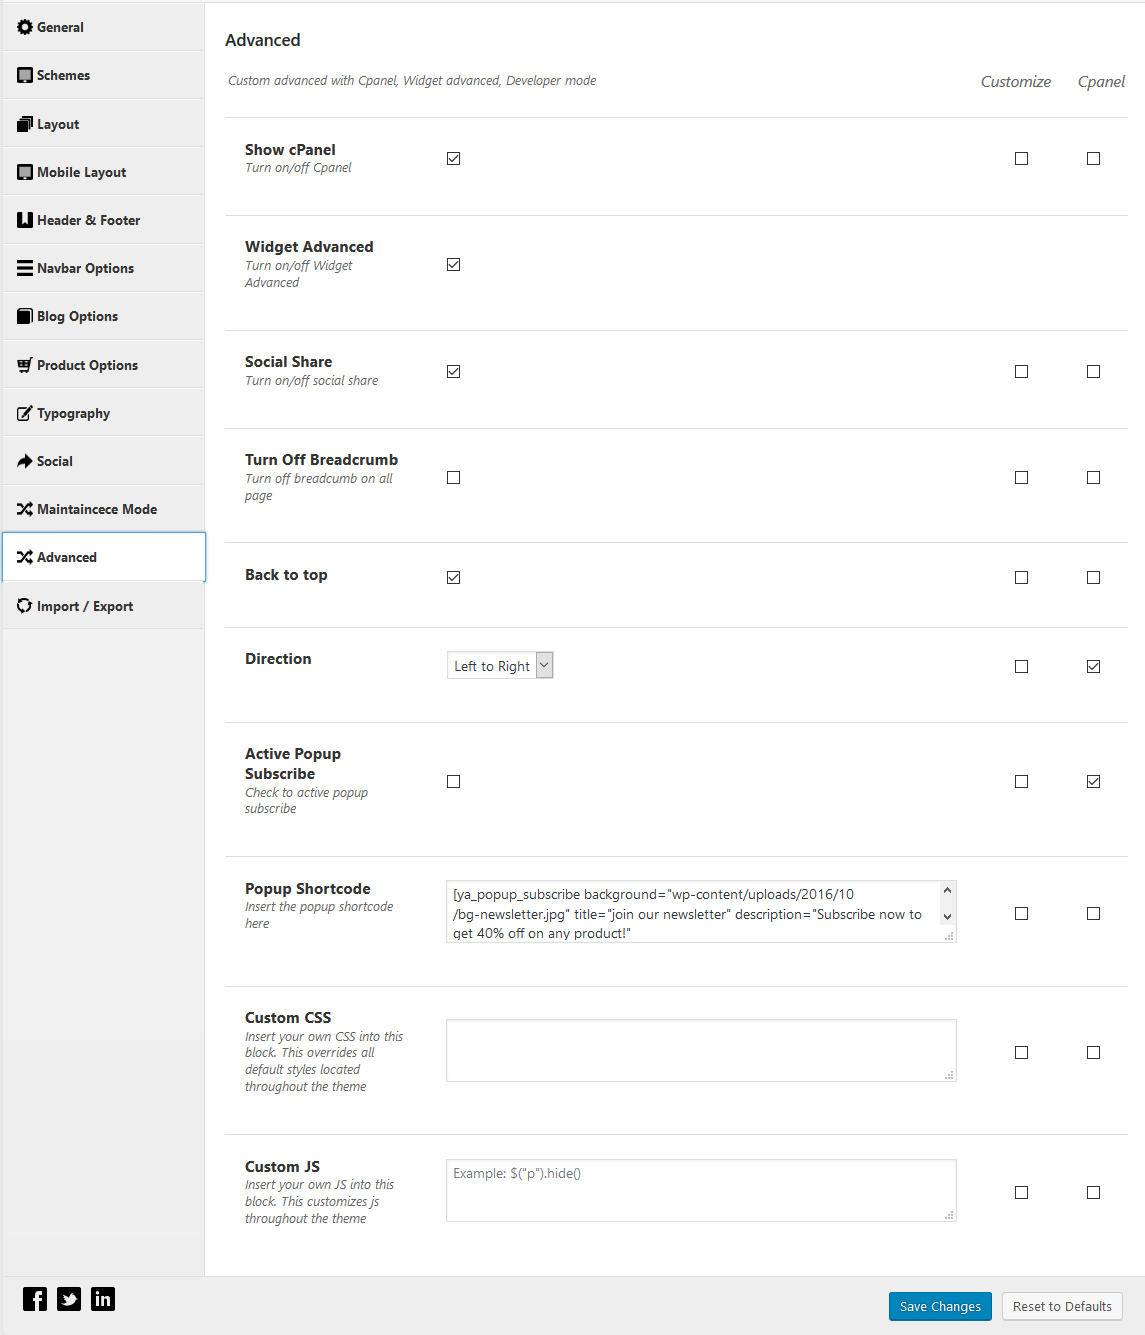
4.12 Advanced
This tab provides options for your advanced customization including Show cPanel, Widget Advanced, Social Share, Turn Off Breadcrumb, Back to Top, Direction, Custom Css and Custom JS.
- Show cPanel: Turn on/off Cpanel.
- Widget Advanced: You could choose Widget Advanced to display advanced configuration in widget panel for configuring by yourself.
- Developer Mode: Due to the risk of losing your customization in css files, this option is not recommended to be chosen.
- Active Preload and Preload Active Page(s):You could choose to active preloading for theme and select page having this action.
- Back to top: You could choose to turn on “back to top” option
- Direction – You could change your site’s direction from left to right or from right to left.
- Active Popup Subscribe: Check to active popup subscribe.
- Popup Shortcode – You can custom your own popup here
- Custom CSS/JS: Insert your own CSS and JS into this part. These CSS and JS will override all default styles located throughout the theme.
4.13 Import/Export Options
You can also backup your current theme options by clicking on the Import/Export tab >> Export Options.
Please note that Import Options is not recommended. If you use this one, all the existing options in your site will be overwritten.
After you install and activate the SW themes in your site, the Theme Options and Page Metabox options will be available in your page configuration.
To access the Page Metabox panel, please go to Pages and choose the page you want to configure in your WordPress Admin.
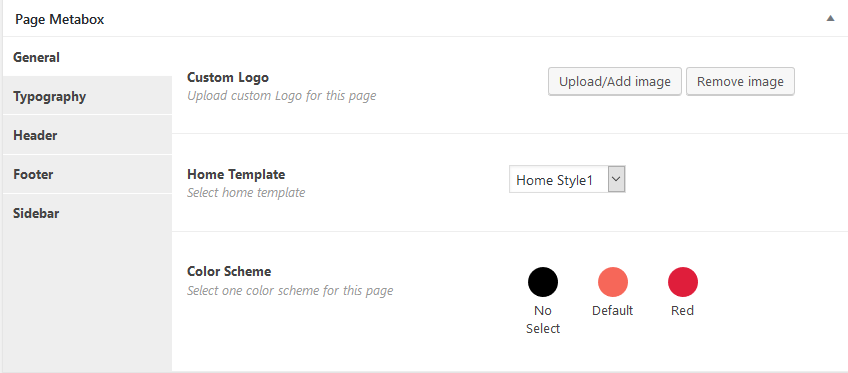
The Page Metabox often includes options: General, Typography, Header, Footer, and Sidebar.
However, there may be the different among SW Themes and due to each version of the theme, they will be updated.
Please note that if you dont configure the option in the Page Metabox, the page will be applied the one in the Theme Options.
5.1 General
In this tab, you will often see options for Custom Logo, Home Template and Color Scheme..
- Custom Logo: You can easily upload your desired logo image for this page.
- Home Template: This option let you to choose the Home Page Style version for this page. It due to the available styles in each themes you installed in your site.
- Color Scheme: With this one, you can choose one of available color for this page. With this feature, you can create different global color for different pages in your site.
.
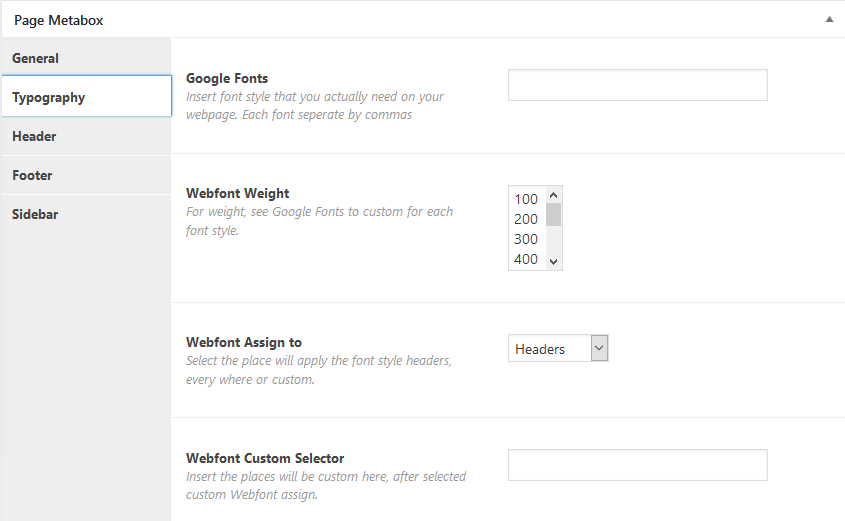
5.2 Typography
In this tab, you will see options for Google Fonts, Webfont Weight, Webfont Assign to and Webfont Custom Selector. .
- Use Google Webfont: This enables you to choose the Google Webfont for your site. You just need to insert the font name here.
- Webfont Weight: For this one, you need to see Google Fonts to custom for each font style.
- Webfont Assign to: This enables you to choose which areas will be applied the font style including Header, Everywhere or Custom.
- Webfont Custom Selector: This option is activated when you choose Webfont Assign to option as Custom. Please insert the area you want to apply the font here.
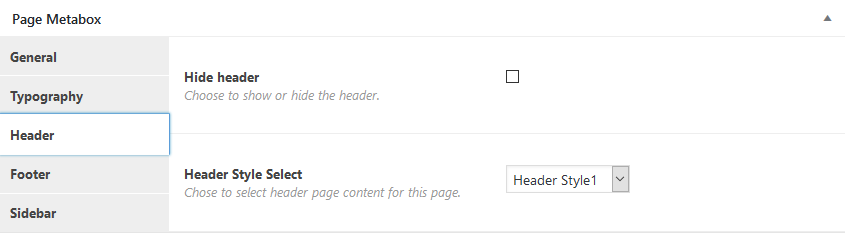
5.3 Header
This tab provide you option for Header in your page. It includes Hide Header and Header Style Select..
- Hide Header: If you want the header do not appear in your page, you can check this option to hide it.
- Header Style Select: If you dont choose to hide the header, you can choose the header style for the page here.
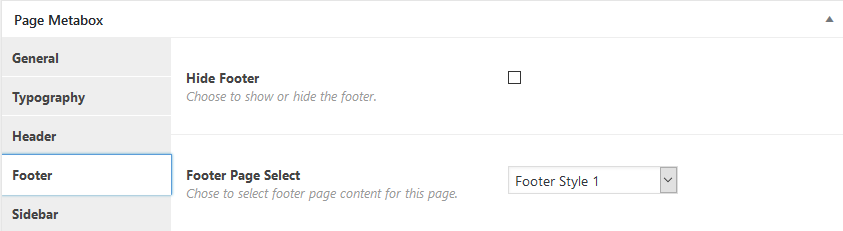
This tab provide you option for Footer in your page. It includes Hide Footer and Footer Style Select..
- Hide Footer: If you want the header do not appear in your page, you can check this option to hide it.
- Footer Style Select: If you dont choose to hide the header, you can choose the header style for the page here.
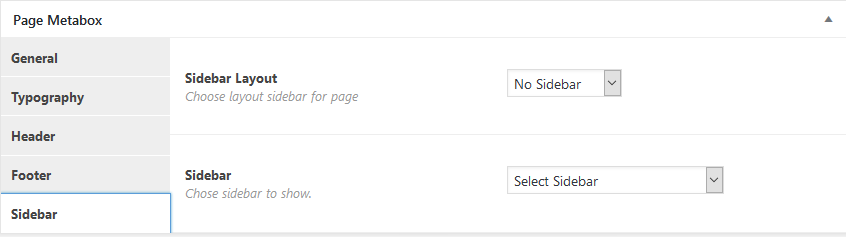
This tab provide you option for Footer in your page. It includes Sidebar Layout and Sidebar..
- Sidebar Layout: You can choose to configure the sidebar in your page here. It include No Sidebar, Sidebar Left or Sidebar Right.
- Sidebar: If you choose to appear sidebar in your site, you can choose which sidebar to appear in the page here. Due to each theme, there will be some options available to choose.
After you install and activate the SW themes in your site, like the Theme Options and Page Metabox, the Category Metabox options will be available in your page configuration. This feature is applied for the category product page with these options.
To access the Category Metabox panel, please go to Products > Categories and choose the one you want to configure in your WordPress Admin.
Please note that if you dont configure the option in the Category Metabox, the page will be applied the one in the Theme Options > Product Options.
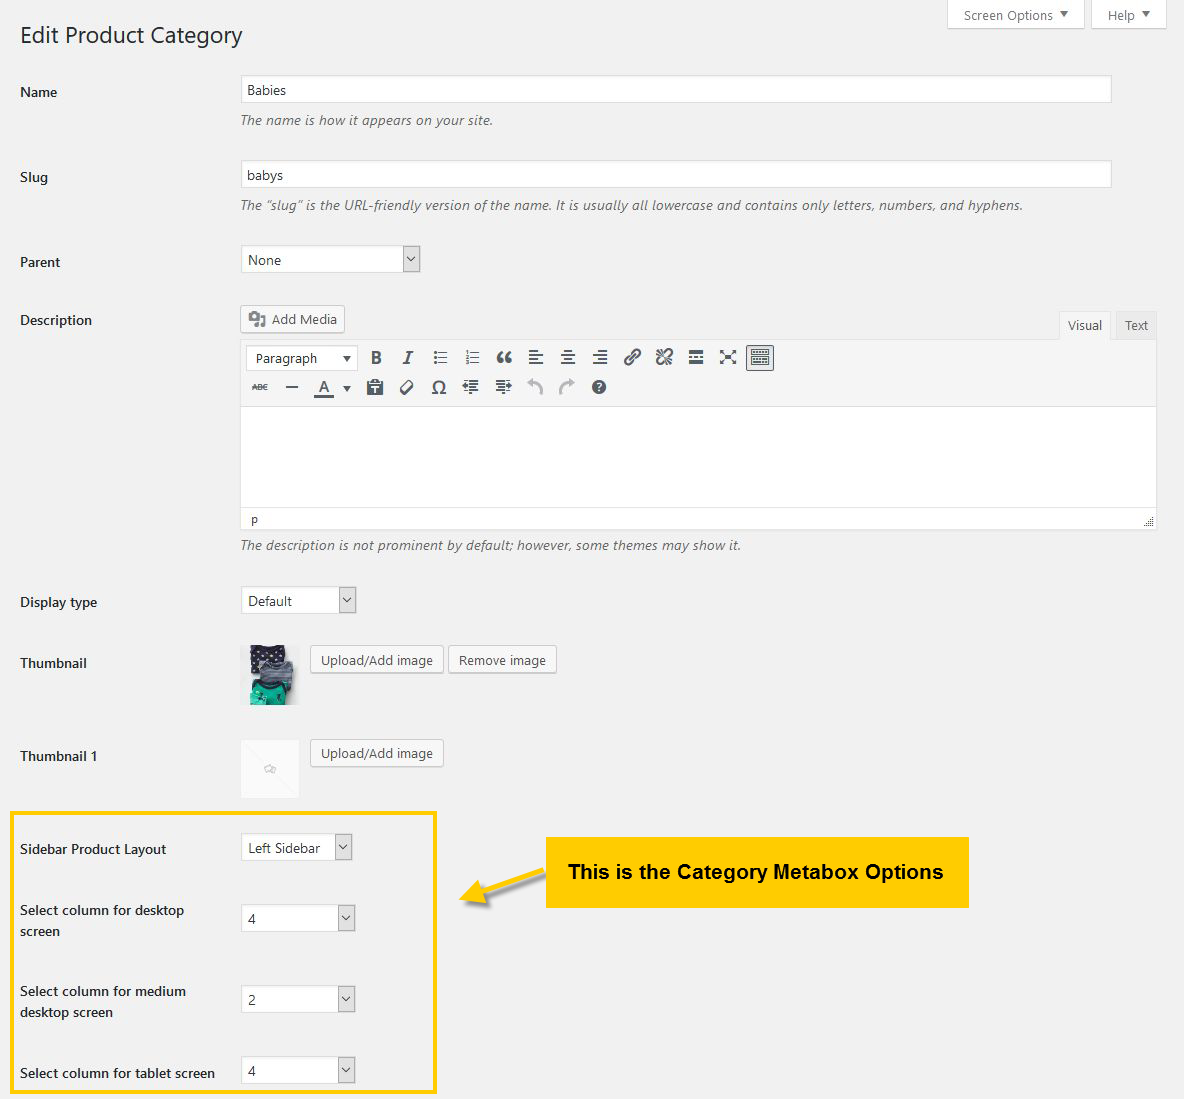
In Category Metabox, there are options for product page includes Sidebar Product Layout, Select column for desktop screen, Select column for medium desktop screen and Select column for tablet screen.
- Sidebar Product Layout: This option lets you to configure the layout for Sidebar Product Page as Left Sidebar, Right Sidebar or Fullwidth Layout.
- Select column for desktop screen: This option lets you to configure the number of product columns appearing on destop.
- Select column for medium desktop screen: This option lets you to configure the number of product columns appearing on medium destop.
- Select column for tablet screen: This option lets you to configure the number of product columns appearing on tablet.
- SUPPORT: If there is any questions that are beyond the scope of this help file, please feel free to contact our team via: Support Tickets System to get help.
- FAQs: Besides, you can check the Frequently Asked Questions about our products and services.