This guide will help you to know how to install and configure MailChimp for your WordPress themes
1INTRODUCTION
MailChimp is a neccesary plugin in most WordPress site. In this article, we will learn about How to Install MailChimp and How to Configure it in a WordPress site.
2HOW TO INSTALL MAILCHIMP IN WORDPRESS SITE?
In this part, we will see how to install MailChimp in WordPress site.
1. In your WordPress admin panel, go to Plugins > New Plugin, search for MailChimp for WordPress and click “Install now”
2. Alternatively, download the plugin from WordPress.org manually and upload the contents of mailchimp-for-wp.zip to your plugins directory.
3. Activate the plugin
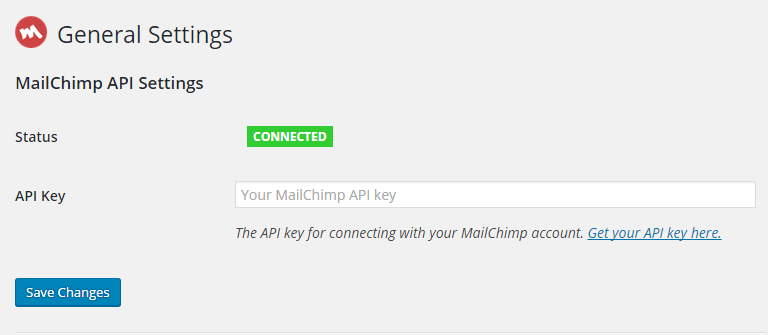
4. Set your MailChimp API key in the plugin settings.
If you see the green square that says Connected, that means your website can communicate with your MailChimp account.
3HOW TO CONFIGURE MAILCHIMP IN WORDPRESS SITE?
In this section, we will bring you some steps to configure MailChimp for your site.
1.Go to MailChimp for WP >> MailChimp to access general setting page of MailChimp. You should connect to your mailchimp account by entering API Key.
2.Also, in order to make MailChimp Form work effectively, you should navigate to MailChimp for WP >> Forms in admin sidebar, fill in the forms. After making the changes, remember to click Save Changes button.
-
- Form Fields: Please click to see the Backend Settings.
Copy the code here to the form mark-up field in the page.
<p>
	<input type="email" name="EMAIL" placeholder="Enter your mail..." required /><input type="submit" value="subscribe" />
</p>
- Form Messages: Please click to see the Backend Settings.
- Form Settings: Please click to see the Backend Settings.
- Form Appearance: Please click to see the Backend Settings.
You can click Here for more information about this plugin.
4HOW TO GET SUPPORT?
- REFERENCE – To have more detail about this plugin, you can refer to MailChimp Documentation.
- SUPPORT – If you have any questions that are beyond the scope of this documentation, please feel free to send us via: Our Support Page
- FAQs – You can refer FAQs for the Frequently Asked Questions.